How to Edit Captions in Windows Movie Maker
Can I Add Subtitle to Videos Using Windows Movie Maker?
For those who have always been wondering, it's true that they can add subtitle to videos in Windows Movie Maker. The program has that feature and they can make good use of it. Needs like that are up for satisfaction.
- Part 1. Guide to Add Subtitle to Videos with Windows Movie Maker
- Part 2. Best Way to Add Subtitle with Windows Movie Maker Alternative
Part 1. Guide to Add Subtitle to Videos with Windows Movie Maker
Before making any attempts, you should begin by downloading Windows Movie Maker and installing it to your computer. If you fail to follow the right instructions, it will bring you problems while you are using the program. Do not overlook anything. Once successfully installed, you can start the process. Read the following straightforward steps in adding subtitle to your video in Windows Movie Maker:

Step 1. Click on the "Start" menu of the program and then select "All Programs" to gain access to the program. You will get to see "Windows Movie Maker" button which you should click on to launch.
Step 2. From the menu bar, click on "File" followed by "Import Media" to choose the file that you want your subtitle added to. Once you have located the file, click on "Import" to add or simply drag and drop the file.
Step 3. Highlight the video you have imported, click on "Menu" and select "Show or Hide Tasks" followed by clicking on "Titles or Credits".
Step 4. To finalize on the process, click the "Title on the Selected Clip" option to allow you type the text for the subtitle. When through, click on "Add Title" and it will be visible on the clip immediately.
Part 2. Best Way to Add Subtitle with Windows Movie Maker Alternative
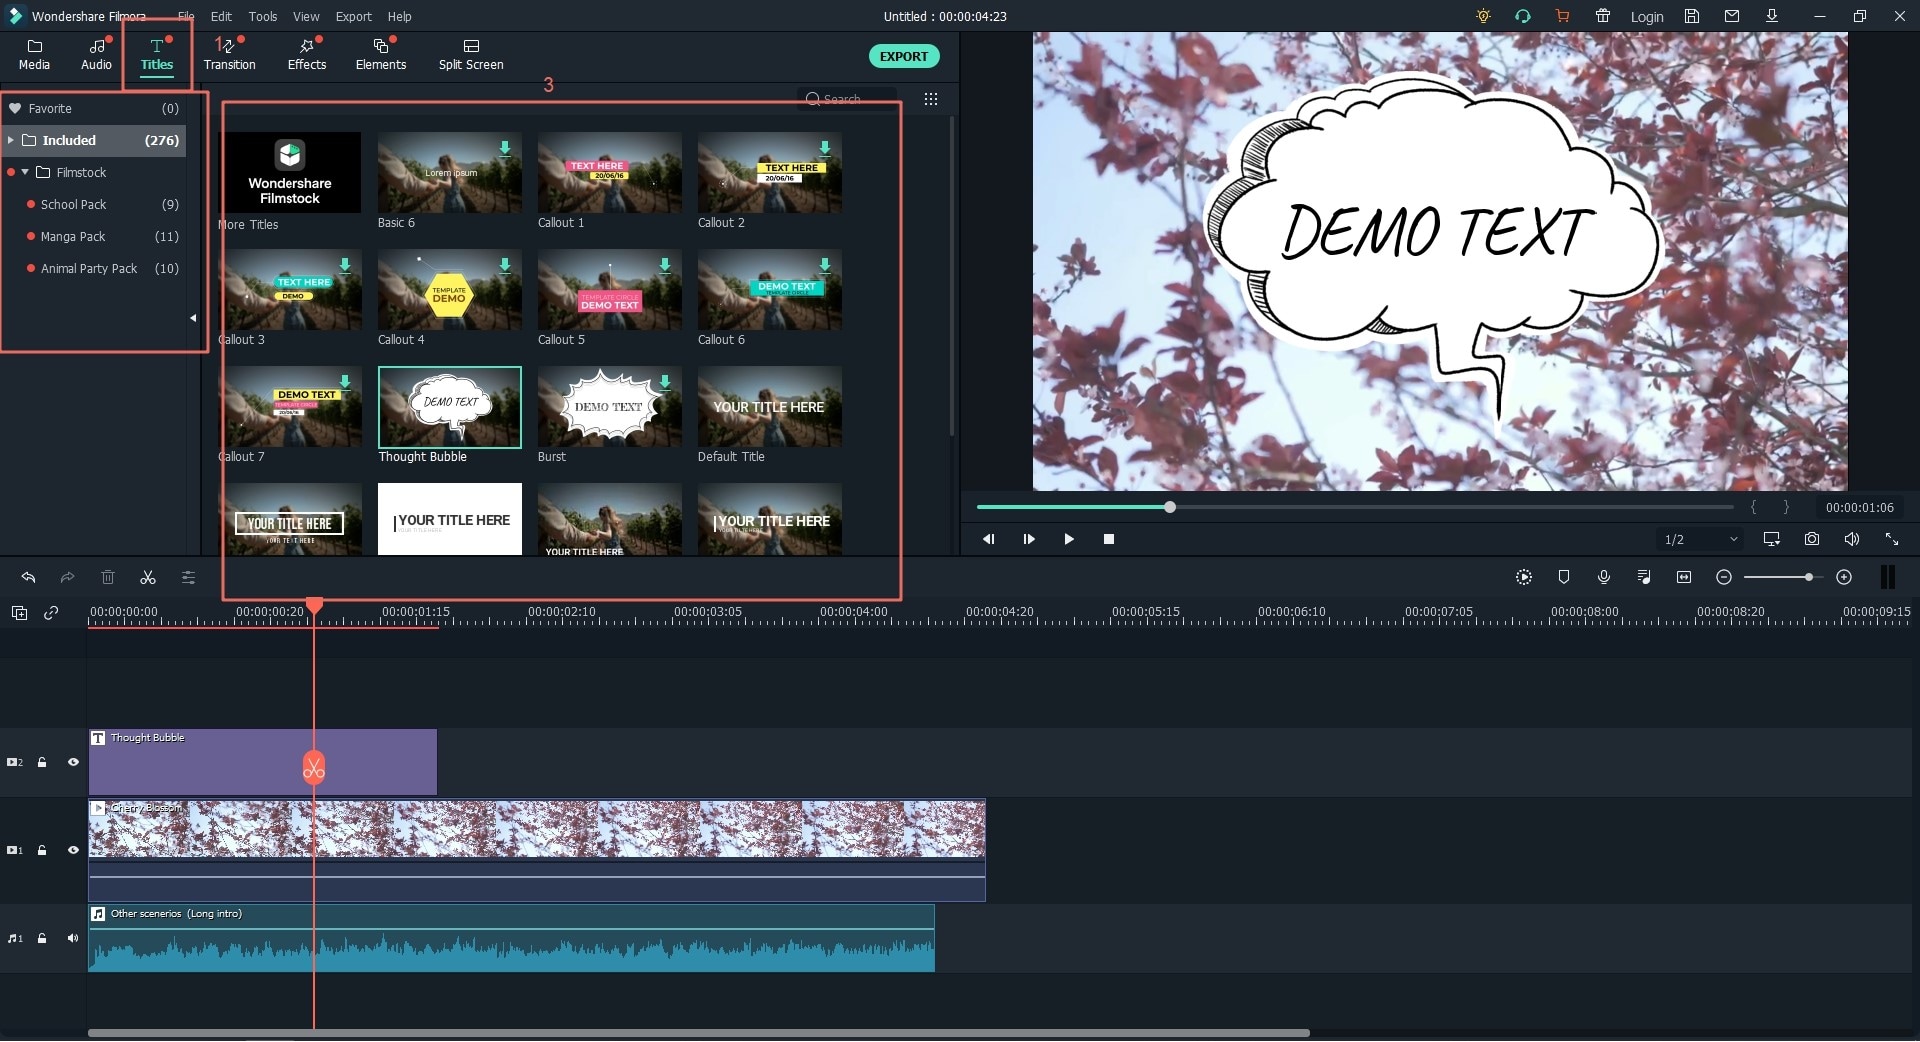
If you are short of options for adding subtitle to your video, Filmora Video Editor will be a good Windows Movie Maker alternative. It has all that you will be looking for to make everything easy including a tutorial. Users are allowed to add subtitle to video with external .srt, .ssa, .ass subtitle files easily. All these options can be found in the Subtitle tab. When you are making an educational video or adding subtitles to a multi-language movie, you will find this program extremely useful and convenient.
User Guide to Add Subtitle to Videos with Filmora Video Editor
Step 1. Import video to the video editor
You can simply drag and drop the video file from your local folder to the program interface. Alternatively, click on the "Import Media Files Here" button and select the video to import it to the program.

Step 2. Add subtitles to the video
Now drag and drop the video to the timeline. And click on the "TEXT/CREDIT" button to open the text and subtitle option window. And then click on the "Subtitles" option to add your desired subtitles to the video.

Step 3. Customize the subtitle
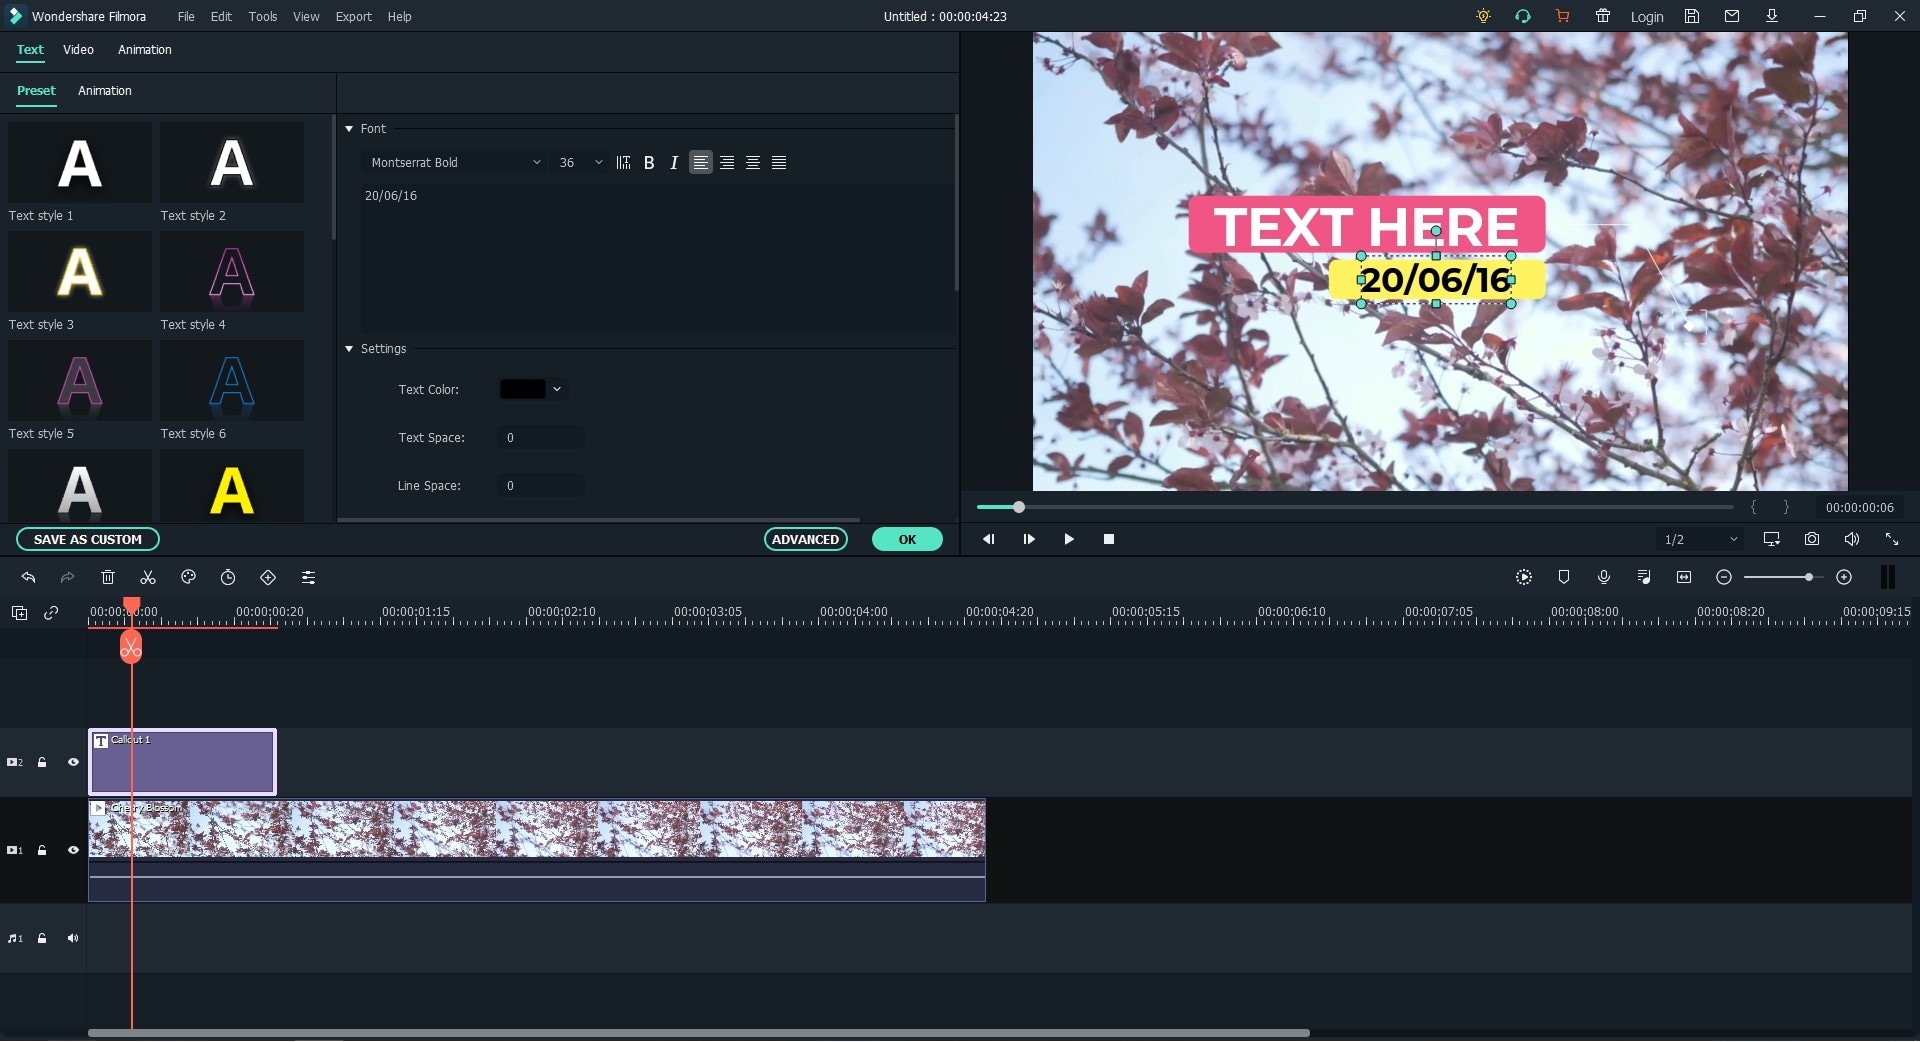
Double click on the subtitles you have added, and you will open the text editing window. Now you can cutomize the font, color, and type.

Step 4. Export the video
After editing the video, you can preview the video and click on the "Export" button to save the video to your desired format, upload to YouTube, or select other output options.

How to Edit Captions in Windows Movie Maker
Source: https://www.iskysoft.com/video-editing/windows-movie-maker-subtitles.html
0 Response to "How to Edit Captions in Windows Movie Maker"
Post a Comment